
At our guild meeting in February we had demos on two tone dying.
One method that works really well on pre-embassed belts, is the same block dyeing that the hippies did in the sixties!
It starts with a belt that was dyed with Pro Waterstain in the bordeaux color (let it dry well for a few hours):
Next a small sponge is used to apply a darker or lighter stain to cloth that is wound tight around a flat piece of wood.
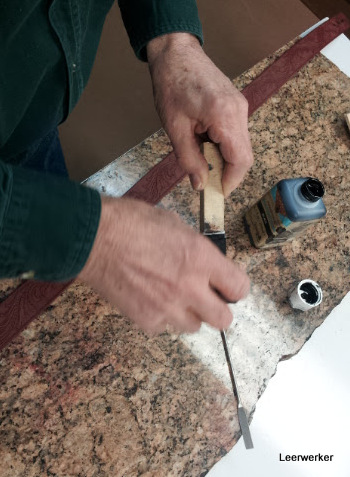
This is wiped lightly across the embossed leather so that just the tops of the tooled designs catch the dye.
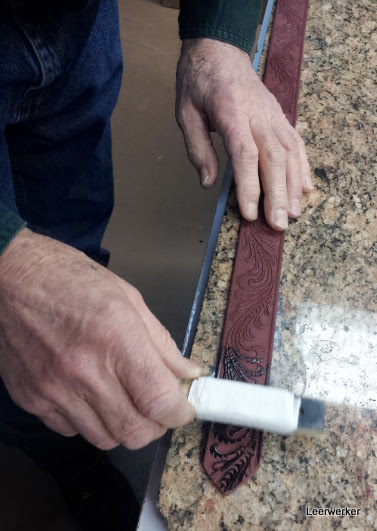
The result is really great. But, like all dyes, it looks fairly dull untill a finish is applied; and here you can see the difference:

Here are more examples Larry did last year:
The other method we explored was resisting parts of a project. This one started with a simple basket weave - you can use this on floral carving or any tooling you have.
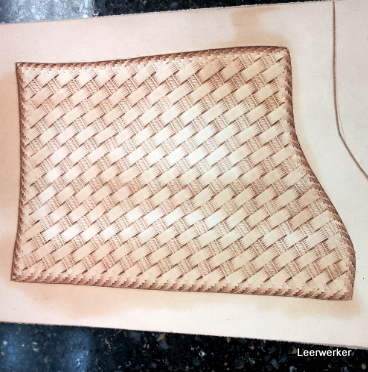
Next you paint one row of the basket weave with super sheen and one row with a brown dye and let it dry well. It will not look too defined at this point unless you are super anal and sit for hours with a very thin paint brush.
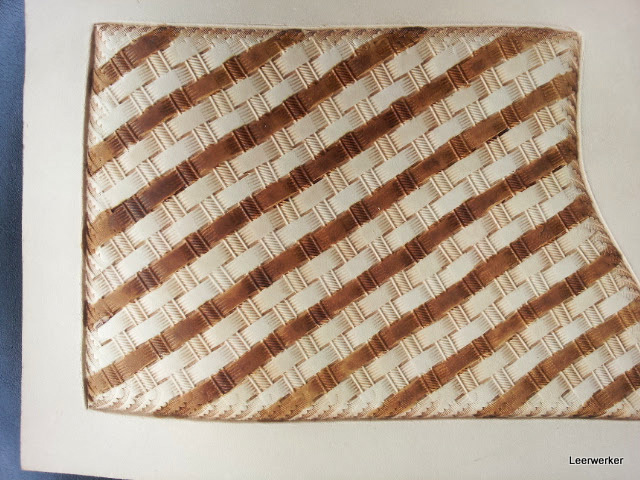
Then you follow the Mr Miyagi instructions for applying Chestnut Hi-Lite stain: Wipe on - wipe off.
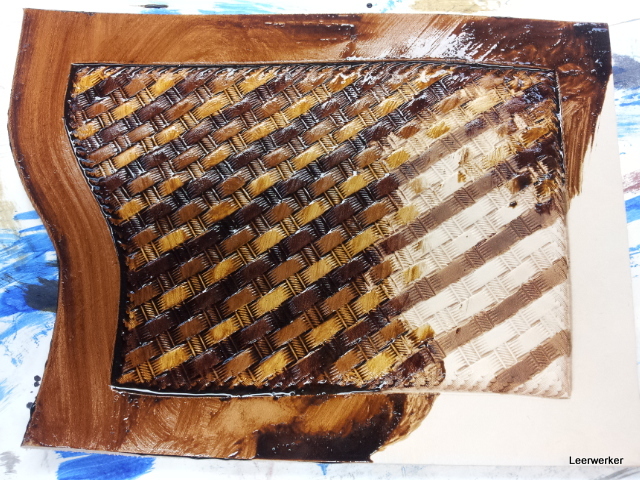
And the magic happens:
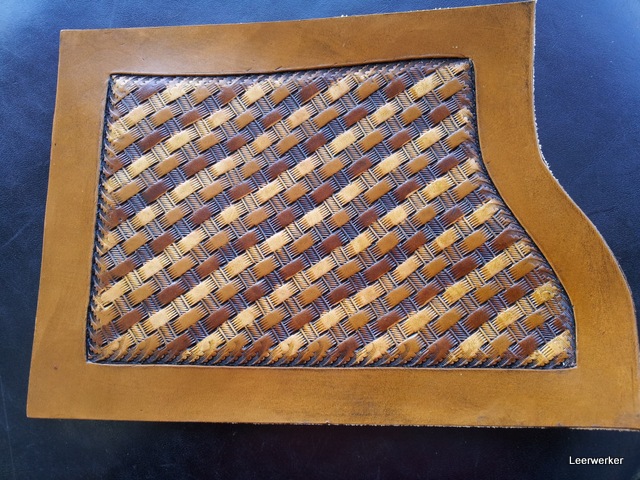
The other half of this piece of leather also got basketweaved, and the whole process was the same, except Tan Antique Gel was used in stead of Hi-Lite stain.
Close up:
I like the Hi-Lite more than the antique gel for this particular effect.
So one step further! Add one more different line to the basket weaving - black dye. So the four different rows you see here is: not treated / resisted with super sheen / dyed with timber brown dye / dyed with coal black dye.
And after applying the chestnut tan Hi-lite stain, the result is even better than I expected!
There is an older post on the leatherlearn blog about resisting as well: just search for "resist".
No comments:
Post a Comment